Solar Panel Installation DIY Tutorial!
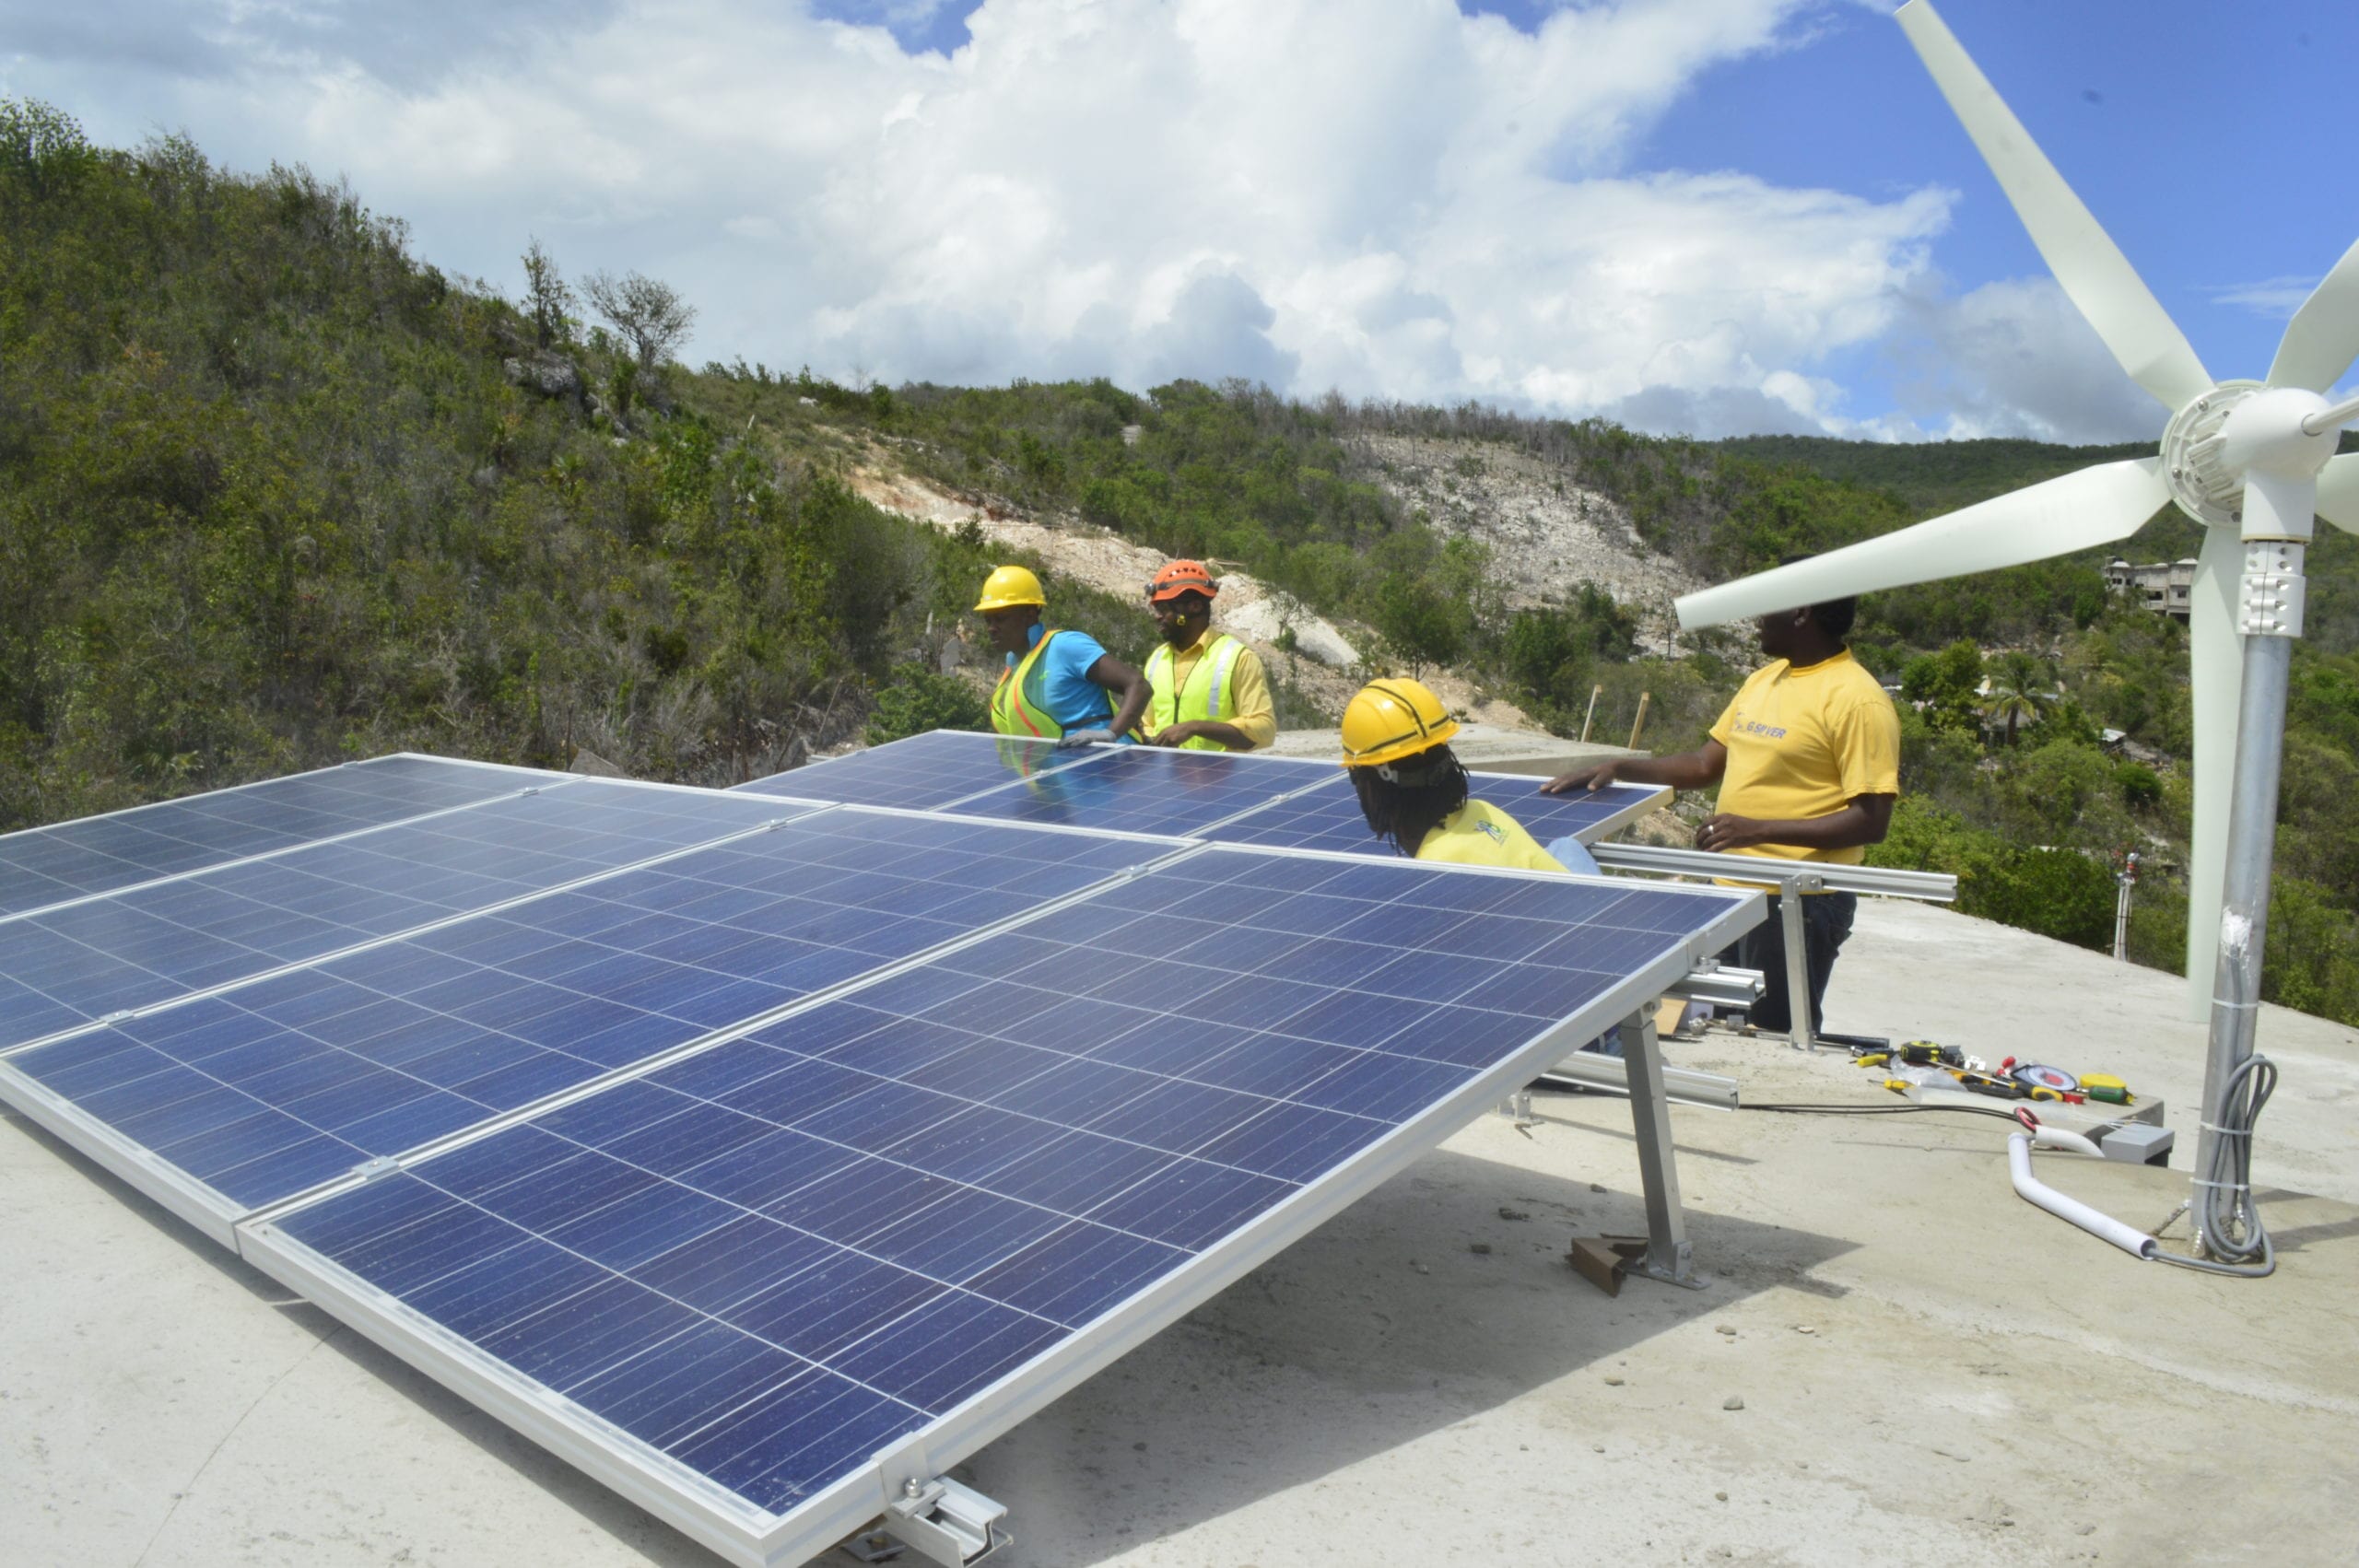
This video is the first in our series on instructional DIY tutorials on solar panel installation on a concrete roof. This tutorial is tailored to renewable energy installers and homeowners who are interested in installing their own small system. It also shows how we mount the aluminum rail, connect wires, combiner box, and ran the electrical wire for the charge controller, inverter, and batteries. This is an OFF GRID home powered by 1 wind turbine and 8 solar panels. This home has never been powered by JPS (Jamaica Public Service Company). And we have taken it completely off the grid. So this home is fully powered by renewable energy. So it has 8 solar panels and 1 wind turbine. And this is a happy customer.
Items needed for solar panel installation
8 solar panels rated at 250W
2 Aluminum rails 14ft long
8 End Clamps and 12 Mid-Clamps
One 6 breaker combiner box
4 DC breaker 15Amp or 20Amp
50ft AWG 6 Red and Black Solar wire
Aluminum Rails for solar panel installation
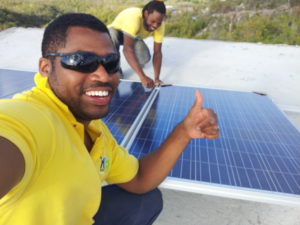
First, we take the solar panel up to the roof and prepare for our solar panel installation. We use rawl bolts to secure the aluminum rack for the solar panels to the concrete roof.
Rawl is one of the world’s leading manufacturers of high-quality anchor bolts used for construction, industrial maintenance, and renovation projects. Rawl anchor bolts are used primarily to install structures to concrete, brick, block, and stone.
For this solar panel installation we used M6 bolts hence we need an 8mm hole and it should be 35mm deep. 2 lengths of aluminum rail each 14 feet long can hold 4 solar panels. So we stock the panels in rows of four. When anchoring the feet it is best to install the anchor legs about 7 feet from each other. We use what is called the T-Clamps or Mid-Clams as you see here. These are used to secure the solar panels and end L-clamps will be installed at the end of each panel. Then we go ahead and we grab the solar panel, literally. And we bring it over to the aluminum rail.
Ensure that the electrical wire is facing top-up. Because this is closest to our combiner box. Here we are tightening the T-Clamp or the mid clams. These are actually situated between two solar panels and you tighten the ones at the top and also the one at the bottom. If you look keenly in this video you can see where the T-Clamp binds the two adjacent solar panels together. And at the end, we use end L-Clamps. We only use end L-Clamps at the end of the row. You will, therefore, need a 4 end clamp for each row of solar panels with two at each end. Here we are tightening up the Mid-Clamps some more on our solar panel installation.
Electrical connection for solar panel installation
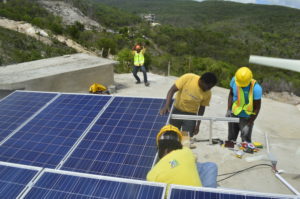
Crawl underneath your solar panels and connect your electrical wires together, that is the tough part. But this is pretty straight forward. When you are connecting your solar panels in series you connect the negative of one solar panel to the positive of the other. We keep two panels in series. For our 8 panel installation, we actually have four groups of two panels. Each connected to a 15AMP circuit breaker in our combiner box.
Here we are laying out the second row. We ensure that the row is properly situated and we also ensure that the shadow from the front row is not cast on the solar panels in the back row. This is important because shadowing will negatively impact the productivity of your solar panel installation. You bore some more holes using your 8mm drill bit. Most of all ensure that the hole is 35mm deep in order for the Raul bolts to fit.
The combiner box installation
The role of the combiner box is to bring the output of several solar strings together. They also serve to consolidate the incoming power into one main feed that distributes to a solar inverter for grid-tie system or charge controller for an off-grid system. The solar panels are connected in pairs. Consequently the positive of each pair is connected at a 15Amp breaker. Furthermore the negative of each pair is connected to the negative bar.
Finally, the grounding from the installation of the solar panels is also connected in the combiner box. This protects the solar panels in the event of lightning strikes. As a result, 3 set of wires are connected in the combiner box. Most of all it serves to consolidate wires. While 8 wires come in from the panels they are consolidated to two wires for the charge controller.
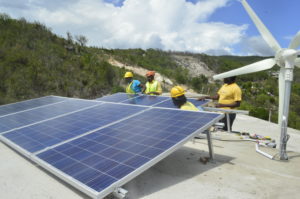
Here we are using the midnight brand of combiner box. Here we are installing the second row of solar panels. These panels are also connected in pairs. They are connected negative to positive and then sent to the charge controller. And now it is time for our very last solar panel. Yes, there you have it. The panel is coming down. Now we are going to route our electrical wires and connect them all in our combiner box.
Our technician Ordain Brown is completing the panel connections in the combiner box. This is done by inserting the breakers and connecting the positive leg from the panels to the respective breaker. The negative to the neutral bar and ground to the earth lug.
From Combiner box to charge controller
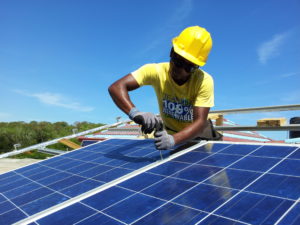
Now it is time to run your electrical wires down from the combiner box and into your electrical circuit connections where you will have the charge controller, inverter, and batteries. This was a pretty long run so you MUST ensure that your wires are properly sized. AWG 6 should be sufficient. Our wires are double insulated hence we are able to run them on the surface but we still used electrical conduit. This ensures that the sun does not wear out the outer insulator.
And then we have a draw box that allows us to pull down from the roof all the way down to our electrical draw box. We then leave from this electrical draw box and send the wires inside the house. To the Charge Controller, the Inverter and batteries. It is important that you have breaking points. If there are any reasons to troubleshoot in the future you will be able to access the wires.
TeamKB, thank you so much for watching the video for this tutorial and reading the article. Do stay tune to the next video in the series that will show you how to connect the solar panel to the charge controller. Please LIKE this article and share it with your friends on Facebook. Do feel free to comment and ask questions on this system.
Subscribe to Oasis Videos by the Trott Bailey Family for more instructional renewable energy videos!
Thank you TeamKB, Let us #KeepBelieving.



 and then
Comments (4)
Good evening KB, my name is Tosin from Nigeria, i studied renewable energy, am from Nigeria. am so impress by good works you guys are doing in jamaica, i have a knowledge of solar but i want to learn an hybrid installation of solar and wind together, i dont know if their are training of such in your training institute and if there is i would like to participate. hope to hear back. thanks.
Hello Tosin, Nigeria is so beautiful we love it there. The Step by Step Solar course concentrates on installing a solar panel system on your home while the Step by Step Wind Turbine Course will teach you how to integrate a wind turbine to your solar installation.
How much are the costs involved with solar panels ?
How much is charged in duty ?
Are there any rebates or bonuses given buy government or utility companies ?
Can you go off grid no problem and would you get money for sending power back on the grid if you tied in?
it is quite interesting to know about the installation steps of solar panel. kindly let us know the cost of getting all the materials for the installation and is there any direction so that the sun light will fall on the panel to make energy. The Step by Step Solar online course is really the best training course on the internet.